Getting Started
Follow these steps to get your first application up and running on Codesphere in just a few minutes.
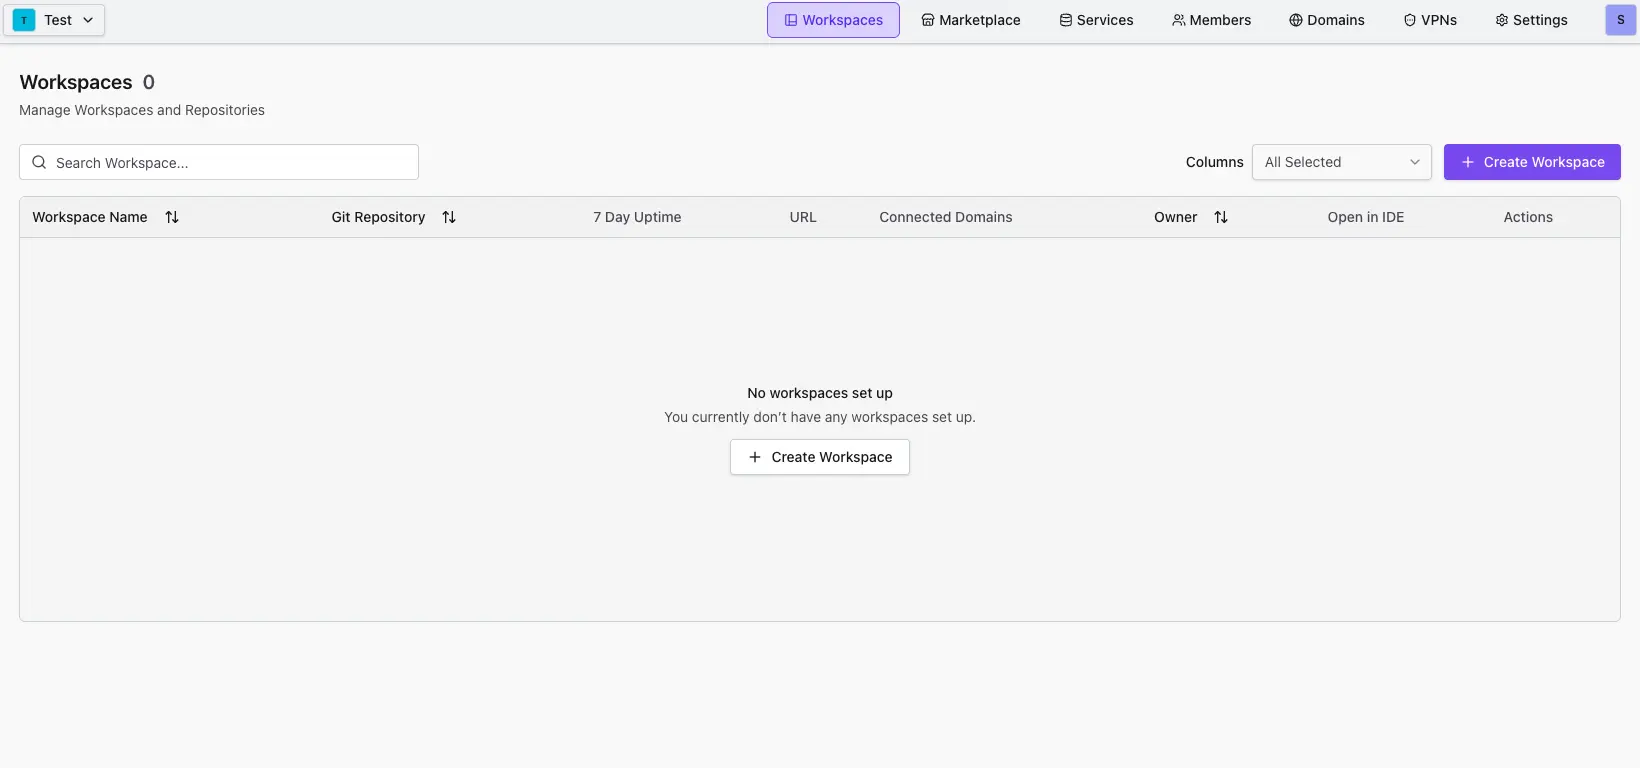
Creating a Workspace
-
Create a Workspace: Click the Create Workspace button located above the workspace list.
-
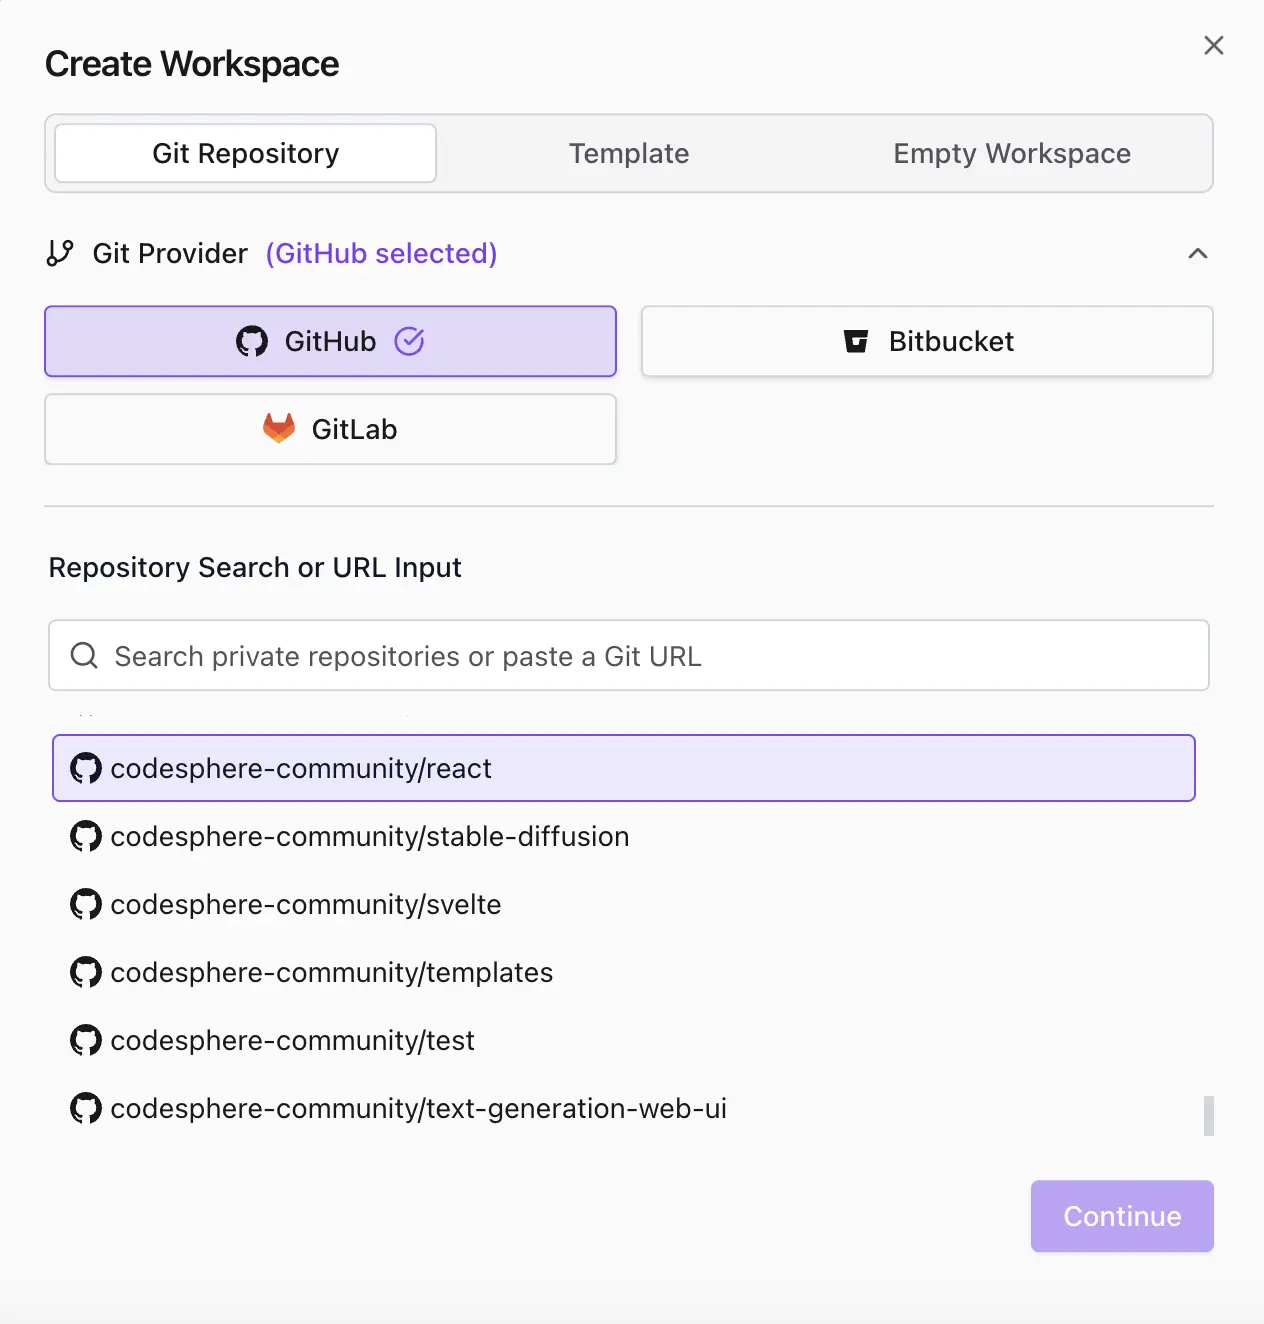
Choose Your Source: Select where the deployment configuration should come from. You have three options to bring your code into Codesphere:
- Use a Template
- Import Git Repository
- Start from Scratch
Select a pre-configured template (like our Node.js or Python templates) for the fastest setup.

Connect your company's GitHub, GitLab, Azure DevOps, or Bitbucket repository. The available git providers depend on your instance's configuration.
Create an empty workspace and manually configure your environment.
-
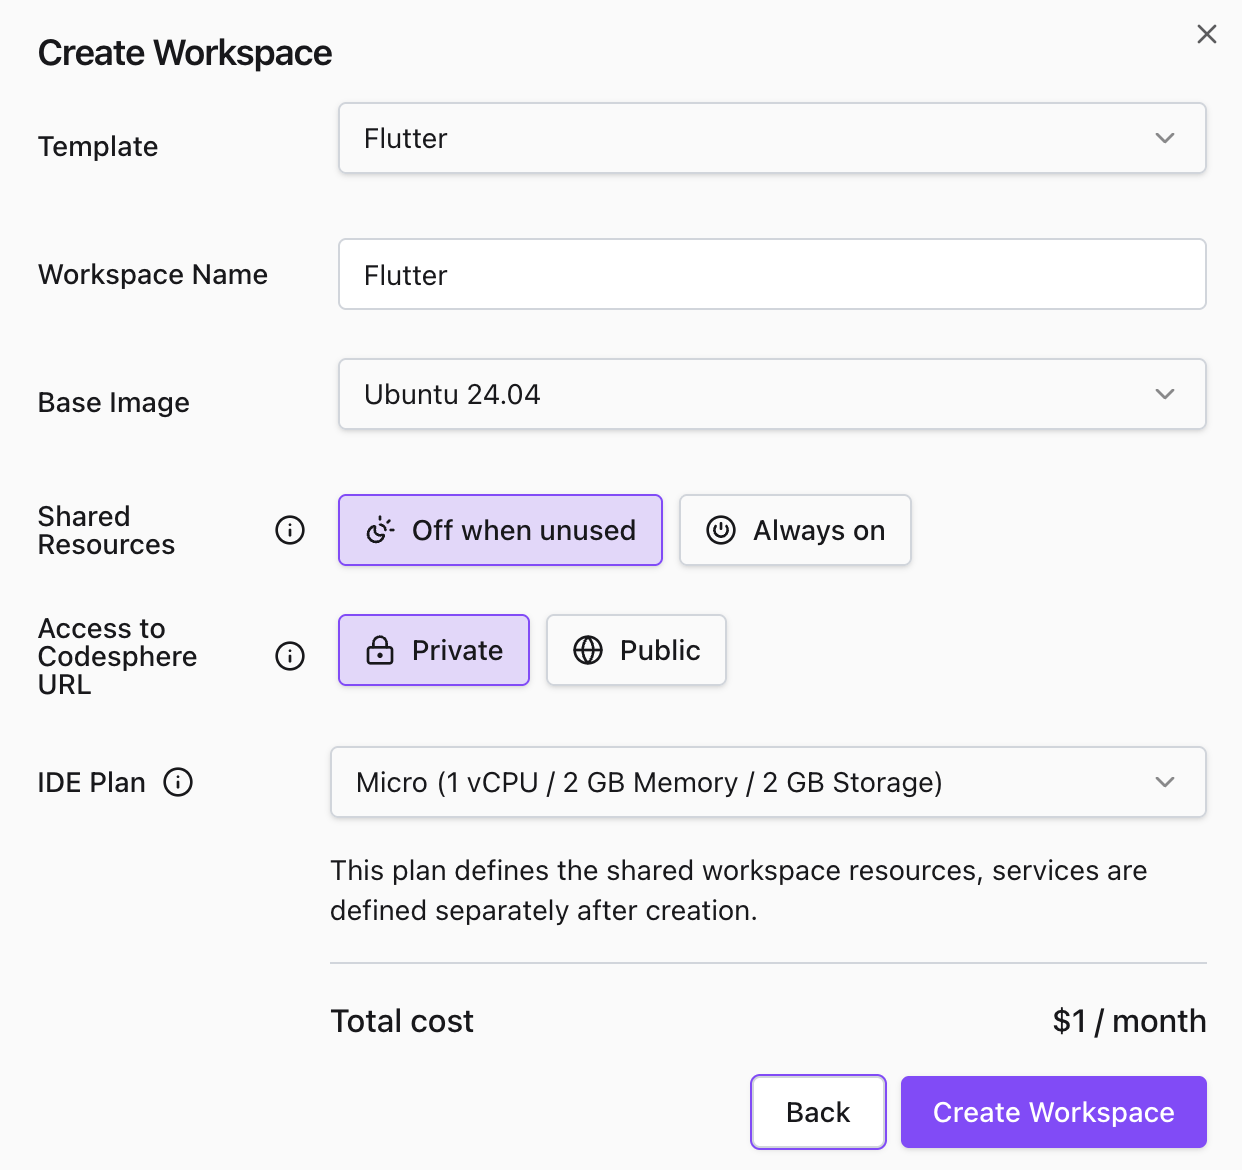
Set Resources: Select the appropriate resources (CPU/RAM) to power your workspace cockpit (IDE and development tools), then confirm the creation.
 Workspace Resources
The resources selected in this step are only used to power your Cockpit and Development Tools. By default these are set to off-when-unused. For further details on the different resources of workspaces and landscape services, see Landscapes and Workspace Toolkit.
Deploying your Landscape
- Template
- Own Git Repository
- Empty Workspace
-
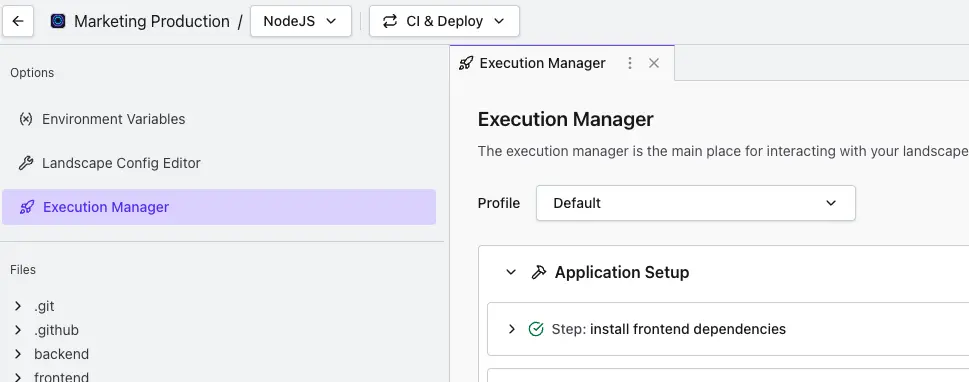
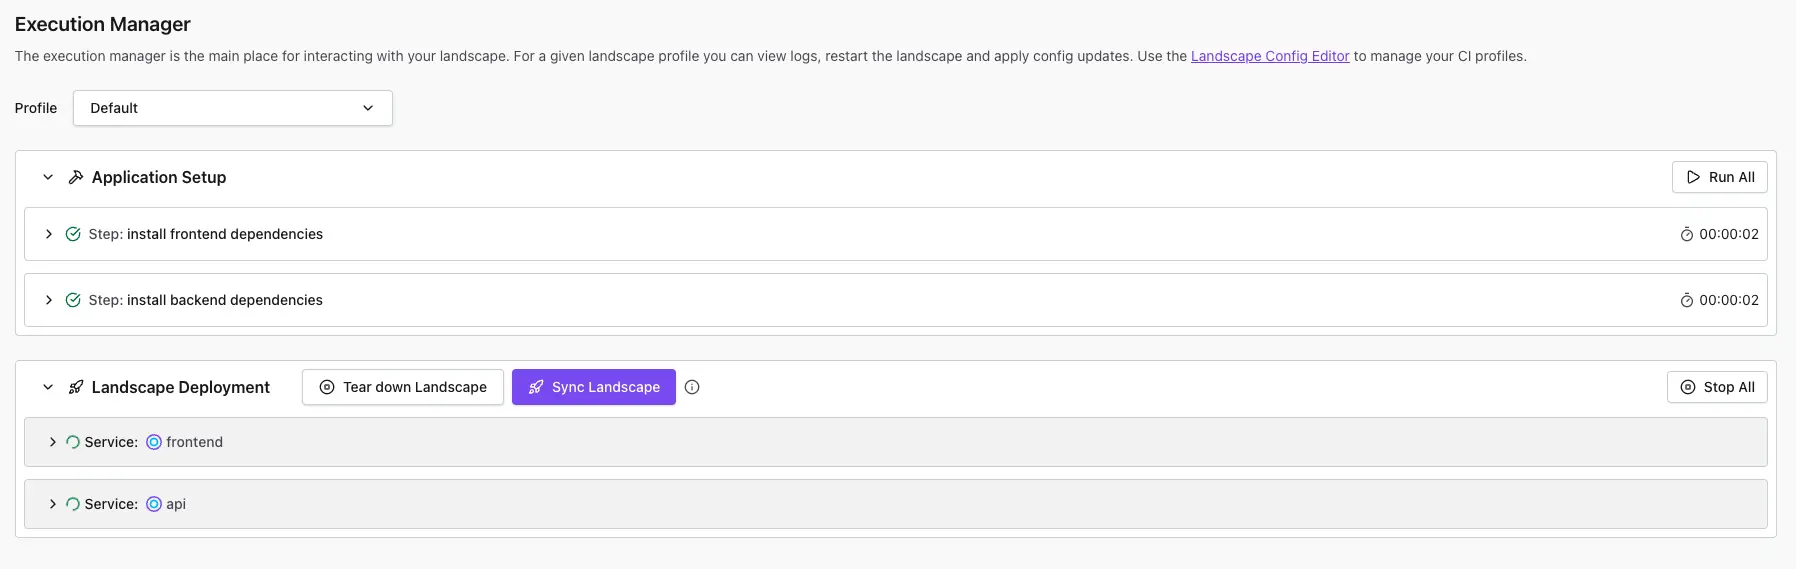
Navigate to CI & Deploy: Once your workspace loads, click on the CI & Deploy tab and locate the Execution Manager.
-
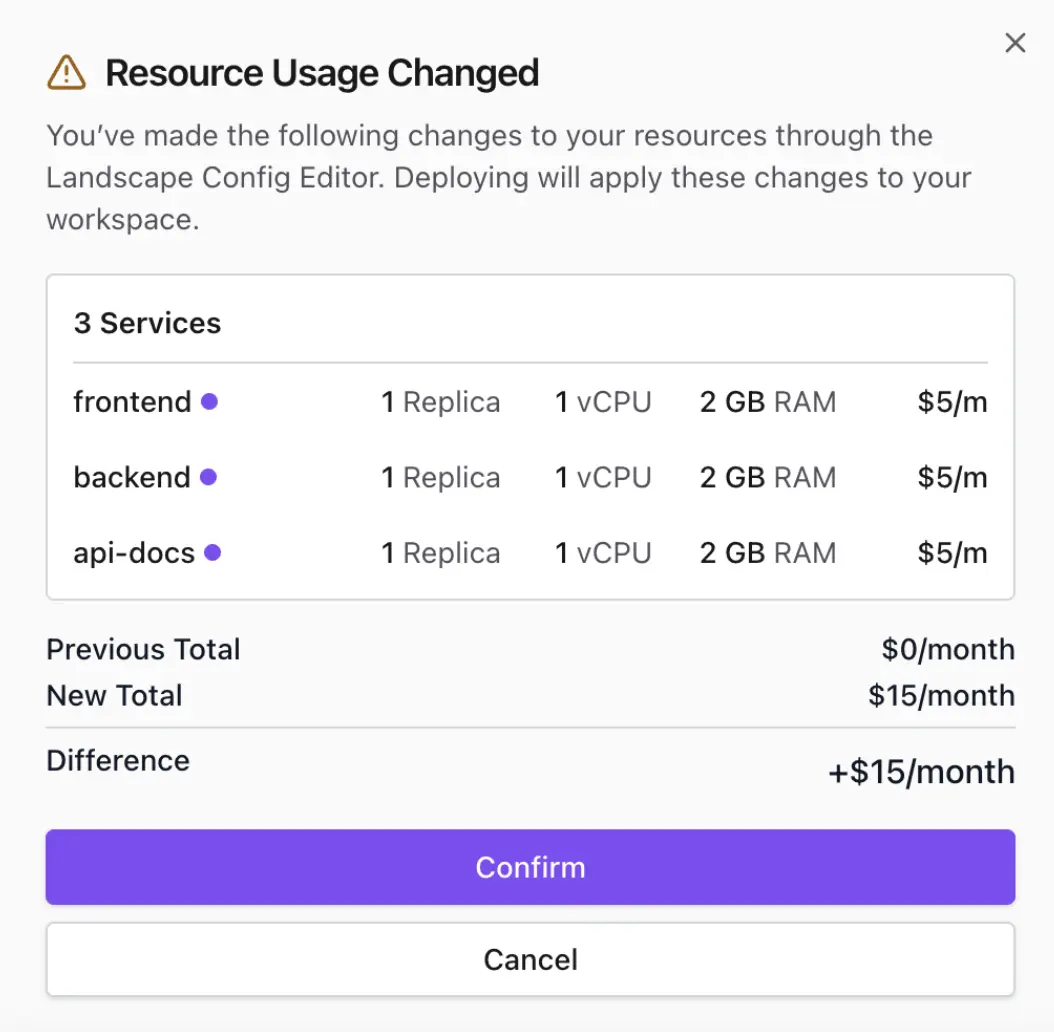
Sync Landscape: Click the Sync Landscape button in the Landscape Deployment Area. You will be prompted to confirm the resource allocation for your actual running services.
-
Run Pipeline Stages: In the Execution Manager, execute the following stages in order:
- Run Application Setup: This installs all necessary packages and dependencies.
- Run Landscape Deployment: This boots up the application.
-
View Application: Once the deployment stage turns green, click the Open Preview icon in the top right corner of the IDE to view your live deployment!
If your repository contains a ci.yml file: Follow the same steps as the template case - navigate to CI & Deploy, sync your landscape, and run the pipeline stages.
If your repository doesn't have a ci.yml file: You'll need to configure your landscape manually. See Configuring a Landscape to learn how to:
- Add services (Reactives, Managed Containers, or Managed Services)
- Configure execution steps and resources
- Set up networking and domains
Once configured, sync your landscape and run your pipeline stages to deploy.
To deploy your application from an empty workspace, you'll need to:
- Configure your landscape by creating a
ci.ymlfile - see Configuring a Landscape to define your services, execution steps, and resources, depending the type of runtime your deploying. - Sync your landscape from the CI & Deploy tab
- Run your pipeline stages to start the services